Maxillary Final Impressions

Overview
-
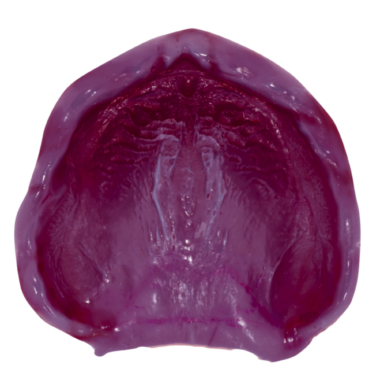
Final impression objectives: Preservation of the remaining ridge, support via maximum coverage, stability via close adaptation, retention via PPS and knowledge of cohesion, adhesion, undercuts, and neuromuscular control
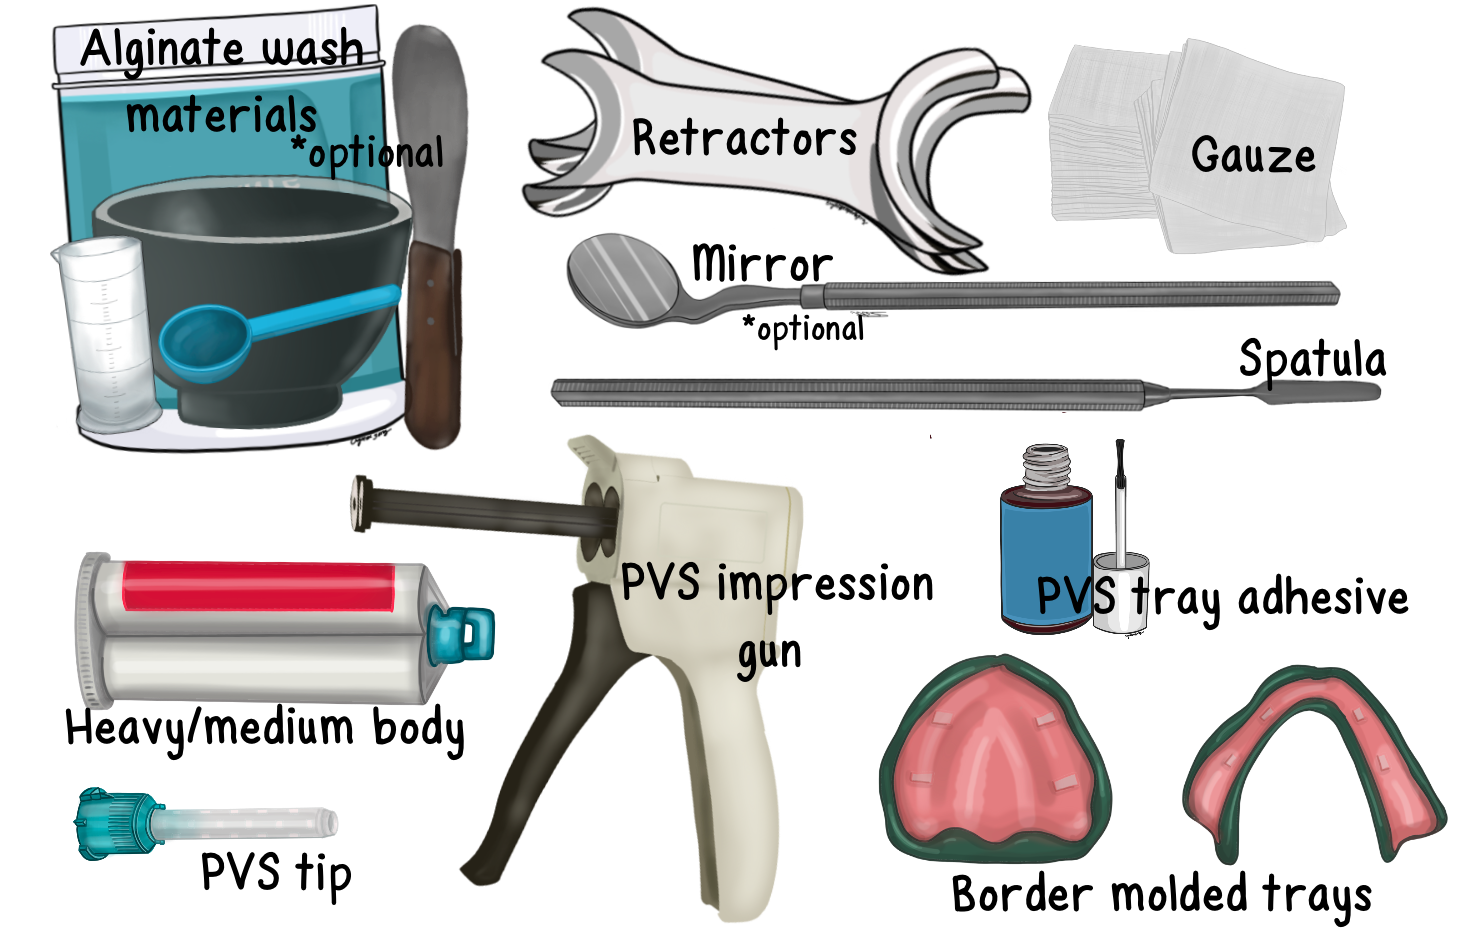
Armamentarium
Instruments and Materials
Video Demonstration
Procedures
A
B
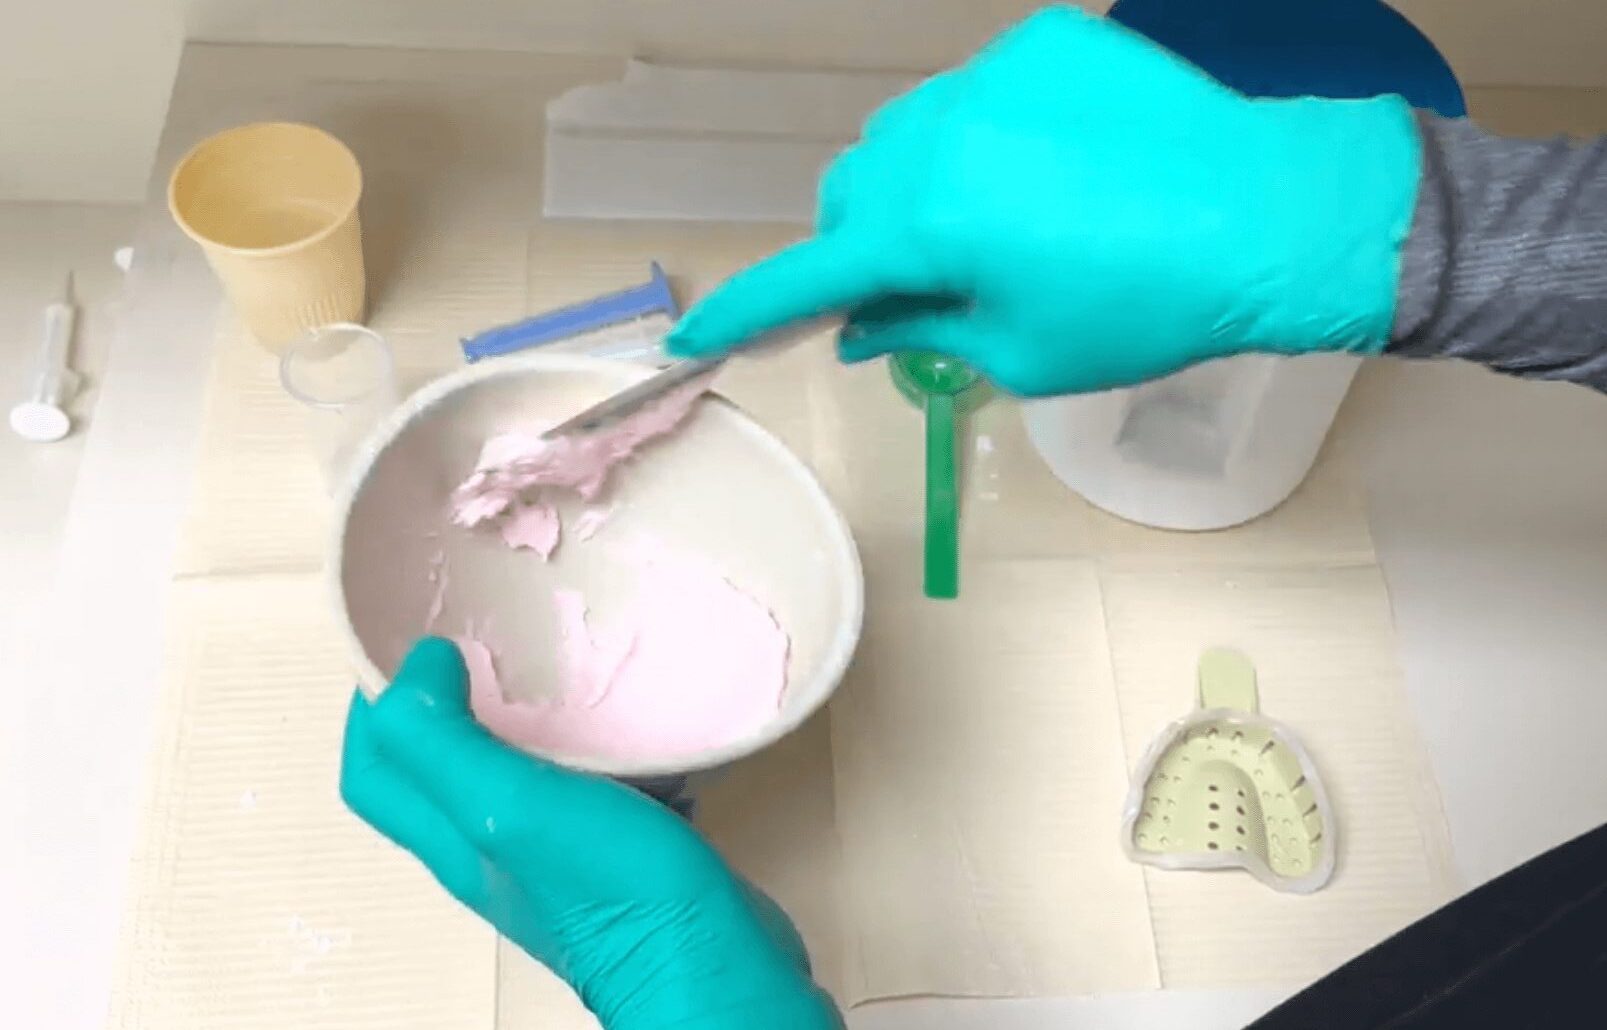
- Repeat the alginate wash as needed until no show through of the green stick compound remains
C
D
E
F
- Ensure the tray is dry when you apply the adhesive
- Use the air water to syringe to evaporate the monomer
- Tip: Ensure you have selected the appropriate adhesive for the final impression material
G
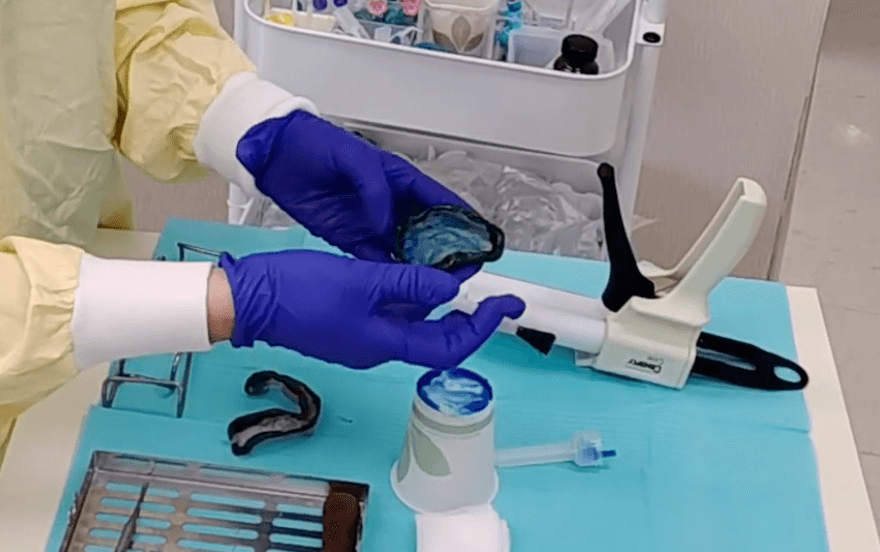
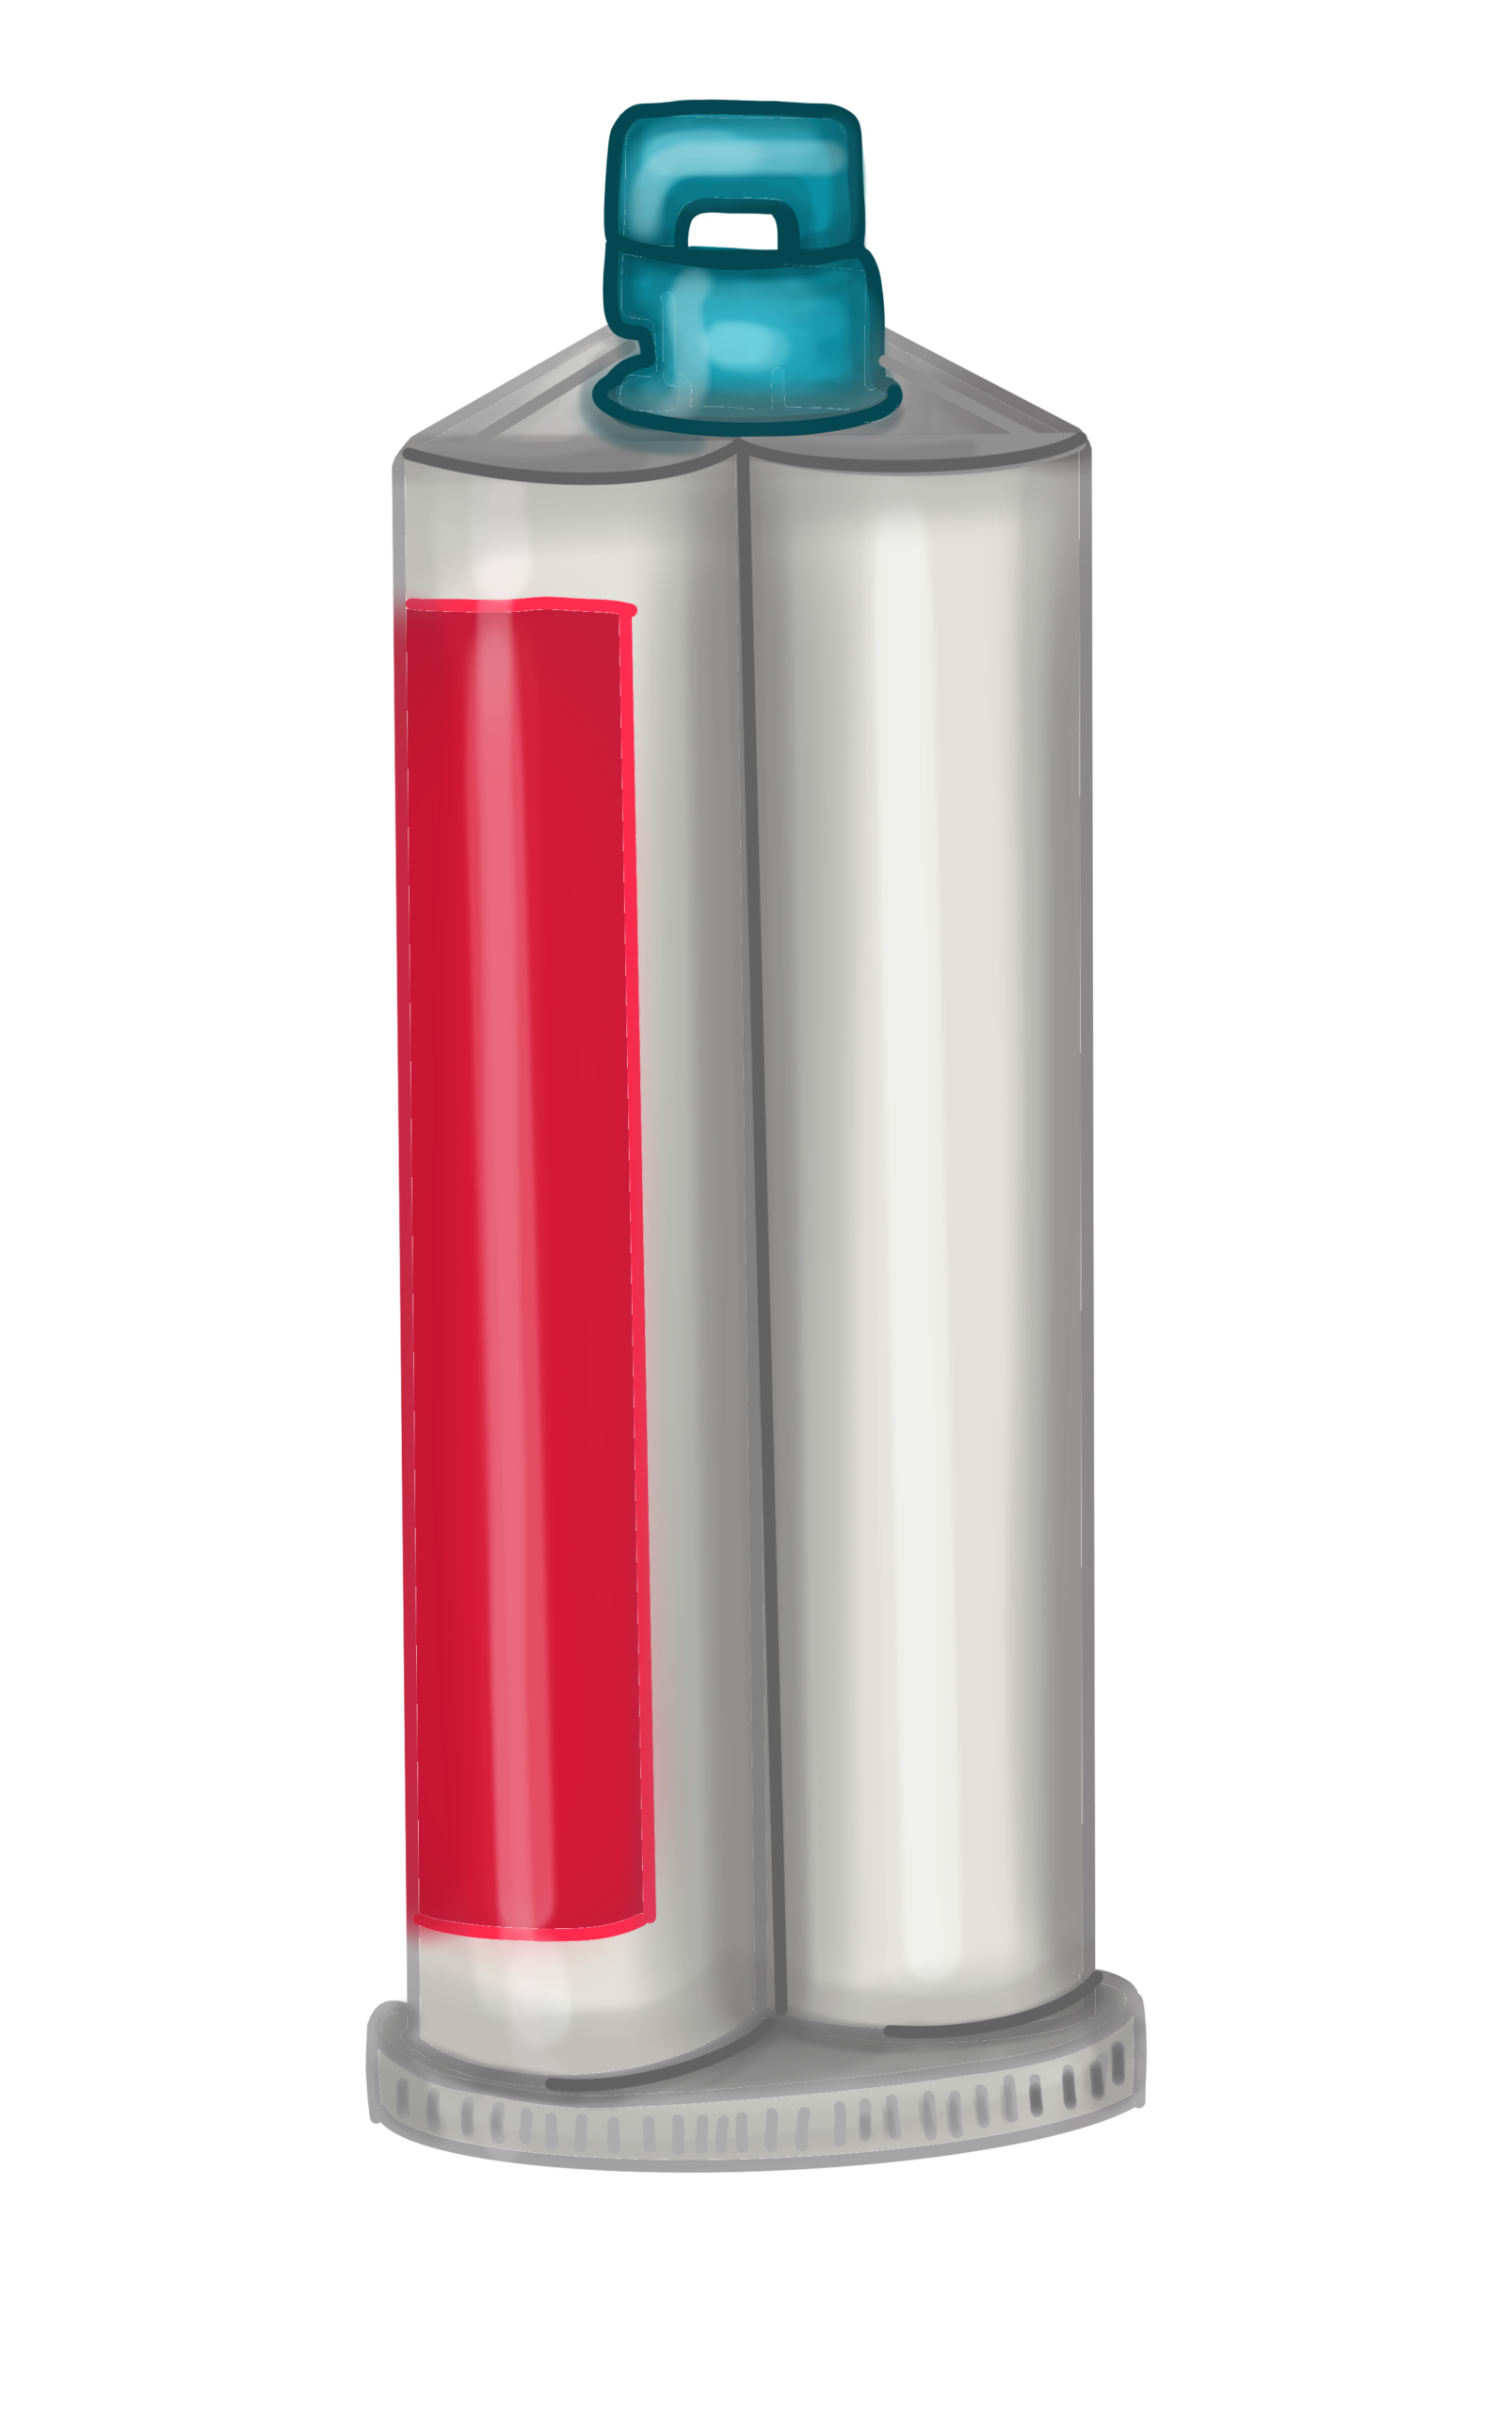
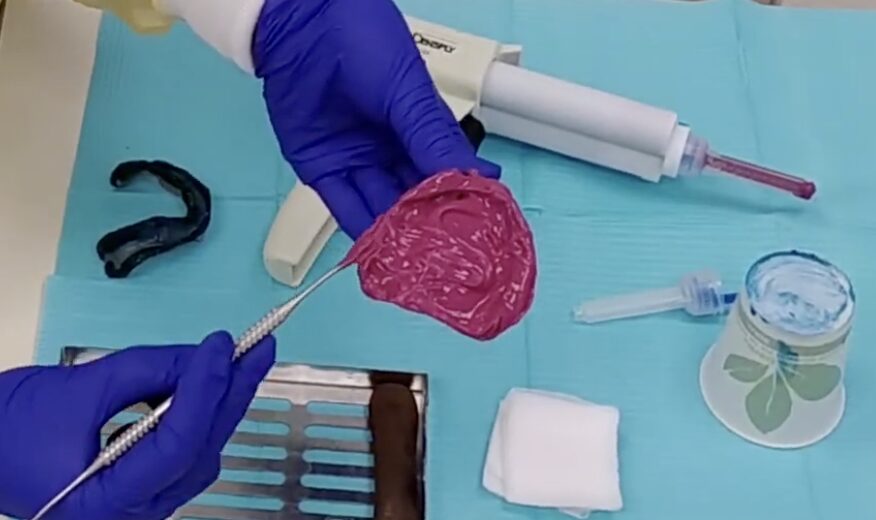
Bleed your PVS material before putting the applicator tip onto the impression gun
Note: PVS working times are as follows:
- 2 min working time
- 5 min setting time
Note: Check the manufacturer’s instructions as brands may vary slightly in working / setting times
H
I
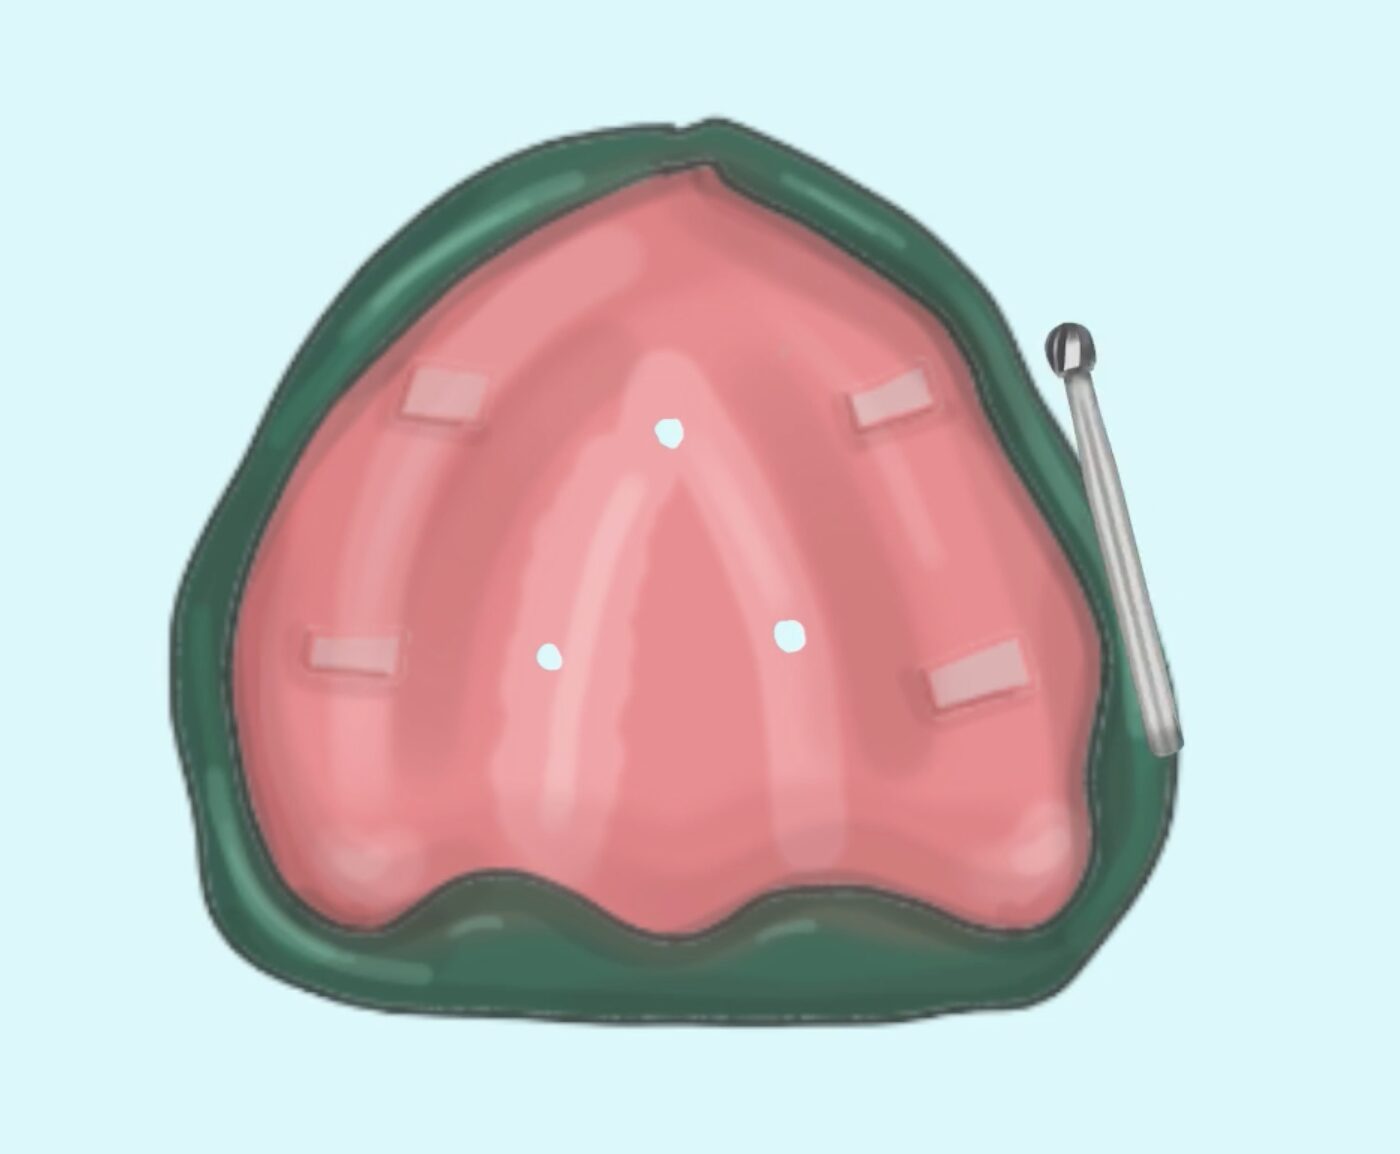
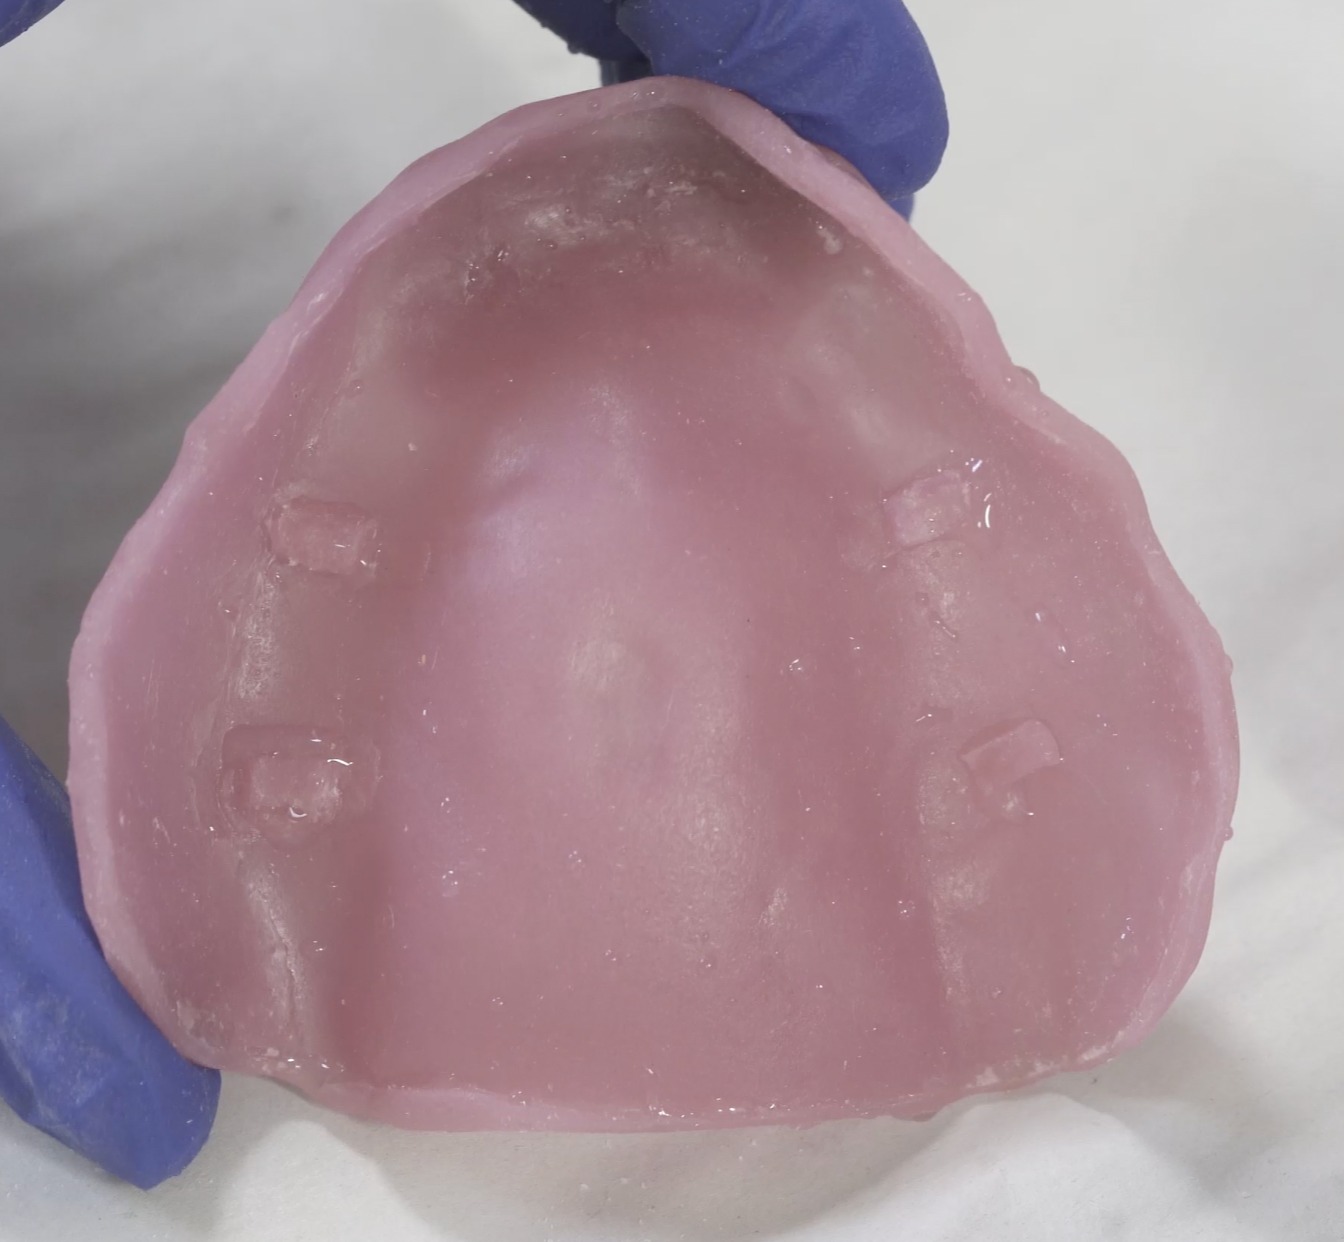
- “Butter” the impression material by using a spatula to smoothen any seams in the application of the PVS
- Ideally apply 1 mm thickness of PVS to the intaglio surface of the tray
- Coat the outside of tray thinly with <1mm of PVS
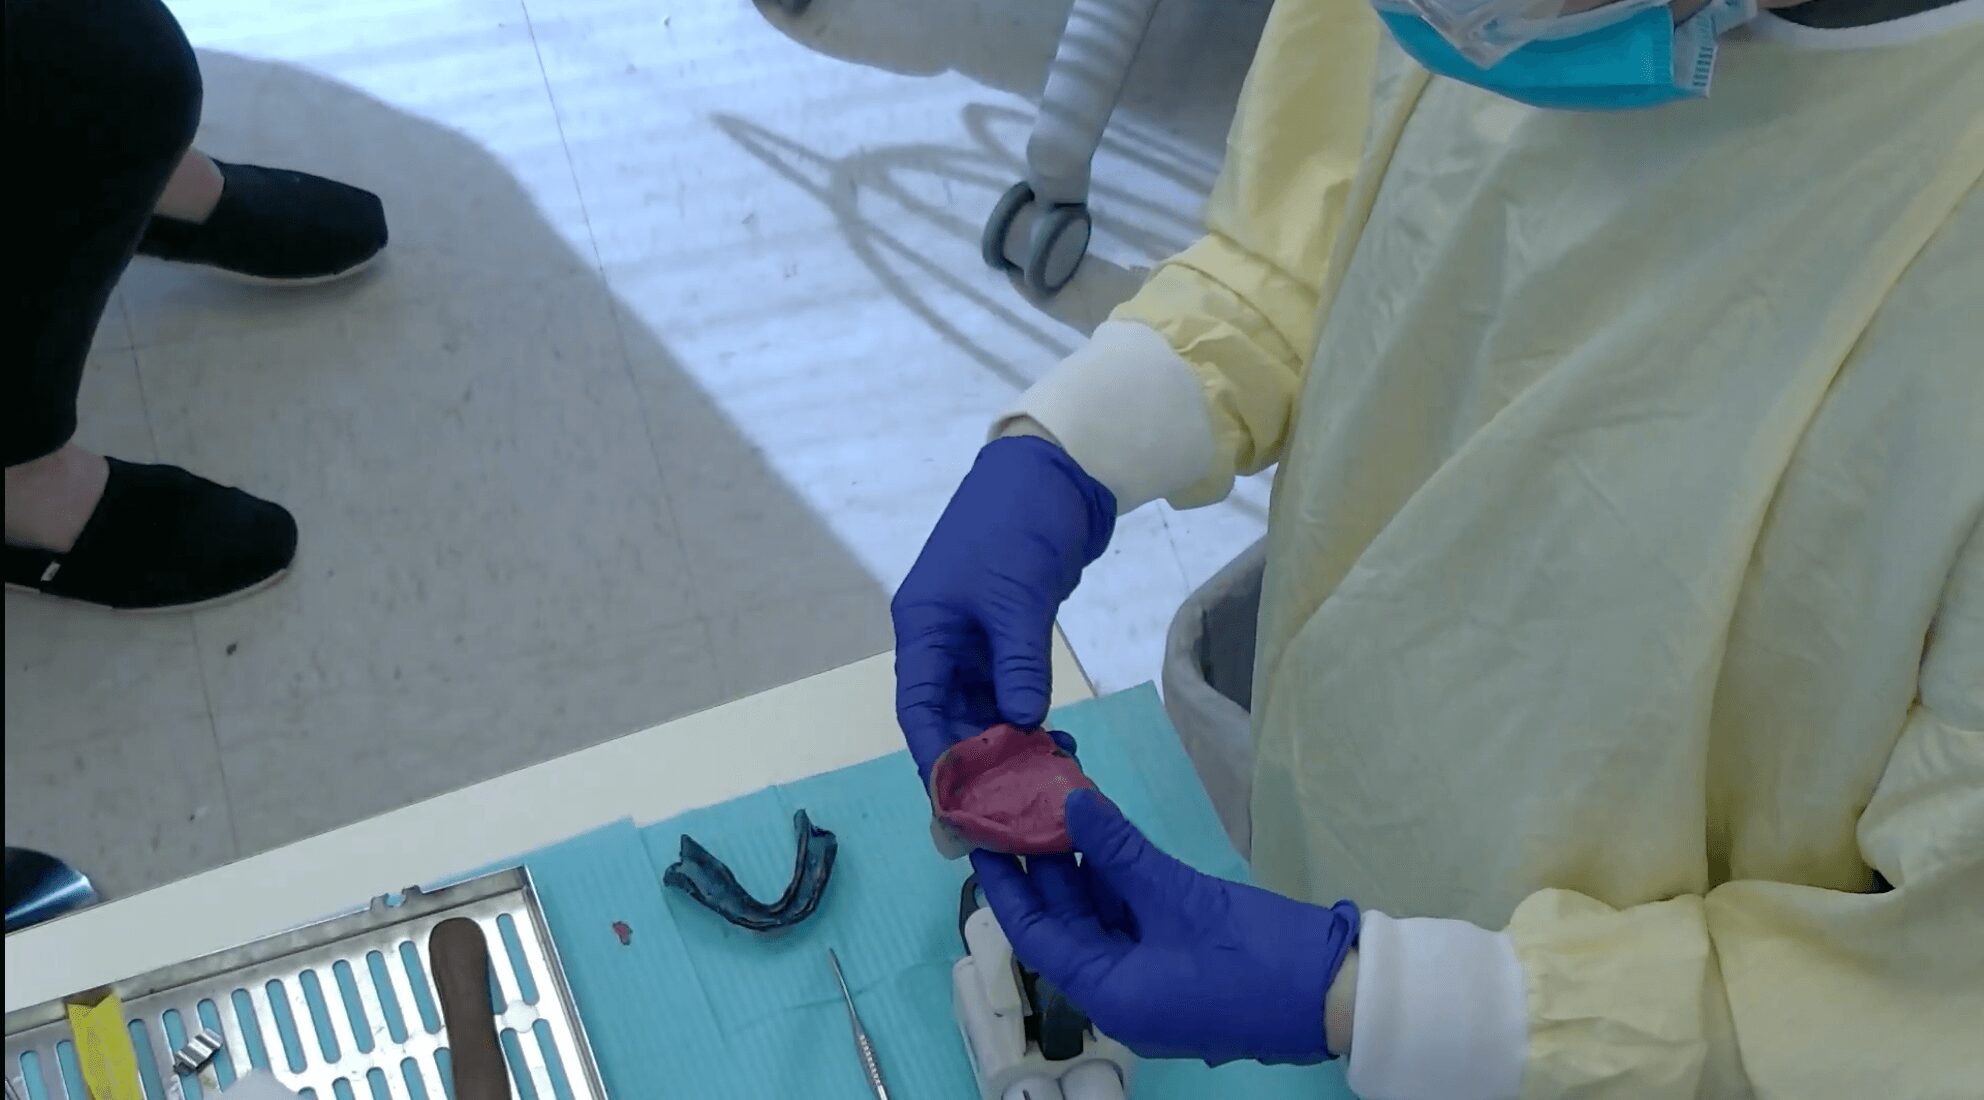
J
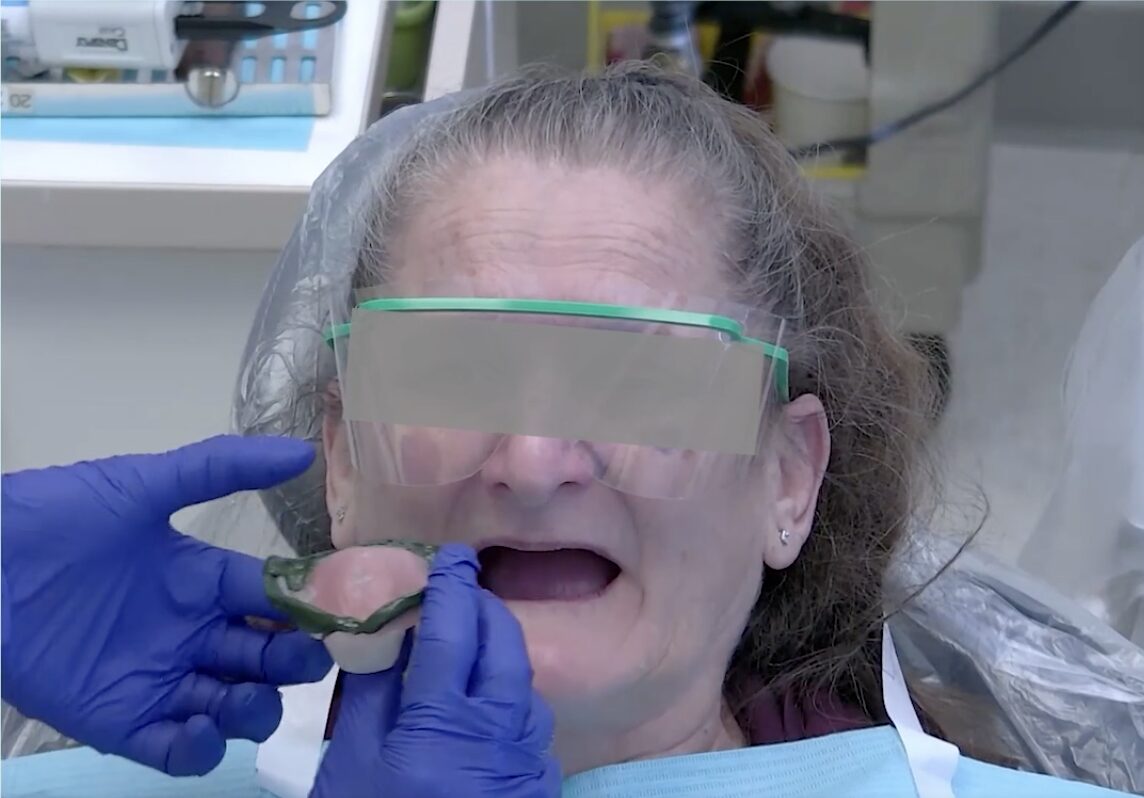
- Confirm full seating and support with bimanual pressure
- Hold in the canine area
- You should feel the tissue rests seated
- Apply seating pressure on anterior palatal vault area
- Clinical Notes:
- You may use retractors at insertion of tray (but be sure to remove quickly after tray is placed)
- Retract the lips and rotate tray into mouth
- Perform passive border movement after seating the tray: Have the patient move lower jaw from side to side, grasp the philtrum and pull it firmly upward; manually border mold cheeks, lips, and philtrum several times
- Continue border molding in cycles of 20-30s until the initial set of impression material (approximately 2 minutes)
K
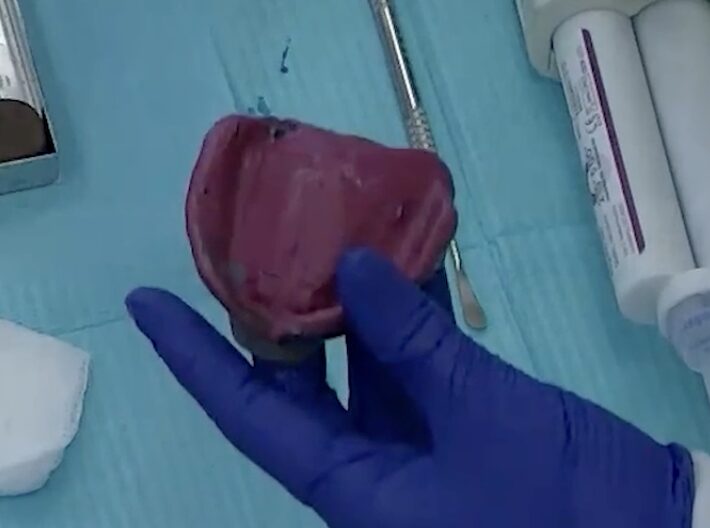
- Note: PVS will not be shiny or sticky once it is ready to be removed
- Hold in place for full setting time (according to the manufacturer’s instructions)
L
- Remove by breaking peripheral seal and releasing suction
- Clinical Note:
- Place two fingers on the top of the tray to prevent hitting the lower arch / opposing teeth while removing the tray
- Ensure the patient is comfortable before inspecting the impression / proceeding to subsequent steps
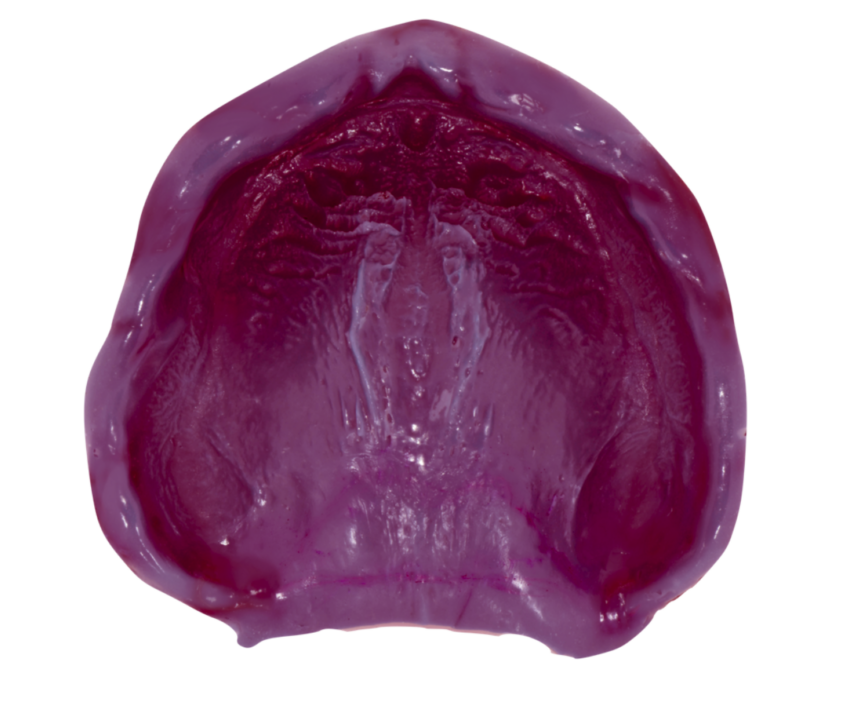
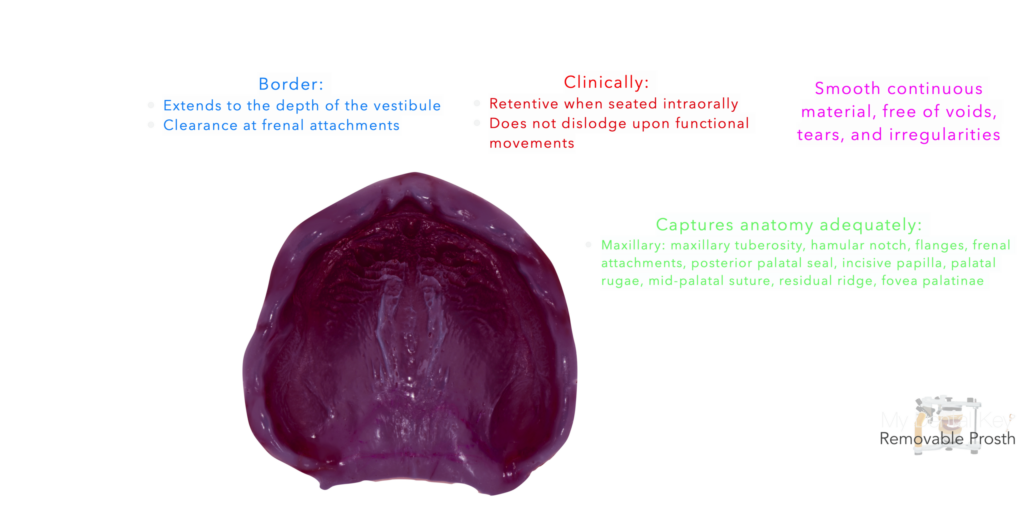
M
- Cut out voids/damage or excess material extending beyond the border molded area using the scalpel
N
- Note: PVS bonds to PVS; additional application of adhesive is not necessary for small relines
- Use small yellow PVS tip and apply PVS to the small void
- Adapt using a spatula as needed to prevent flash
- If pulls in the material are present, cut these out with a scalpel and perform a small repair / reline in the trimmed area
O
P
Checklist
Congratulations
You’ve reached the end of this lesson